Why Your Wrist Hurts (And How to Fix It Before Carpal Tunnel)

Why Your Wrist Hurts (And How to Fix It Before Carpal Tunnel)
January 4, 2026
Difficulty
Easy (Form Correction)Time to Master
Instant FixStop Playing Through The Pain. It’s Not 'Weakness'.

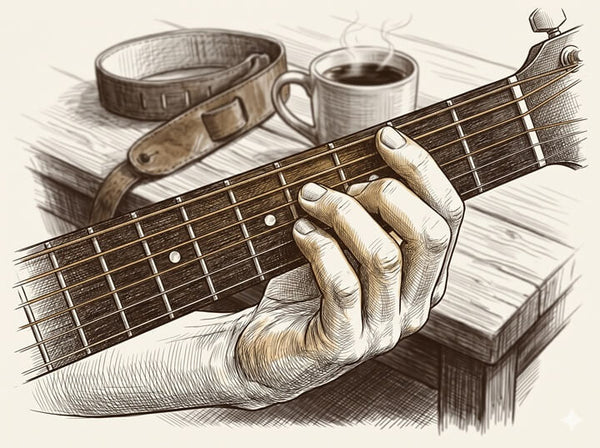
The 'Death Angle' (Are You Guilty?)

Recommended Gear
Guitar Chord Presser - Play F Chord Day 1 (USA Shipping)
Mastering this technique is 2x faster with the right tool. Don't struggle unnecessarily.
View Tool
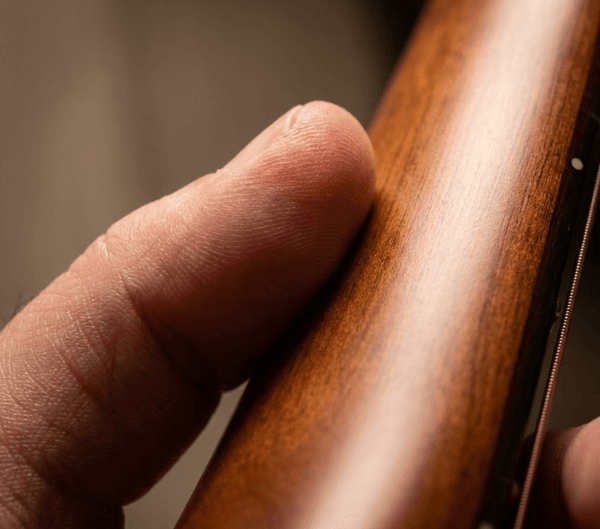
The Solution: The 'Classical' Thumb Drop
Visual Breakdown


💡 The Cheat Code